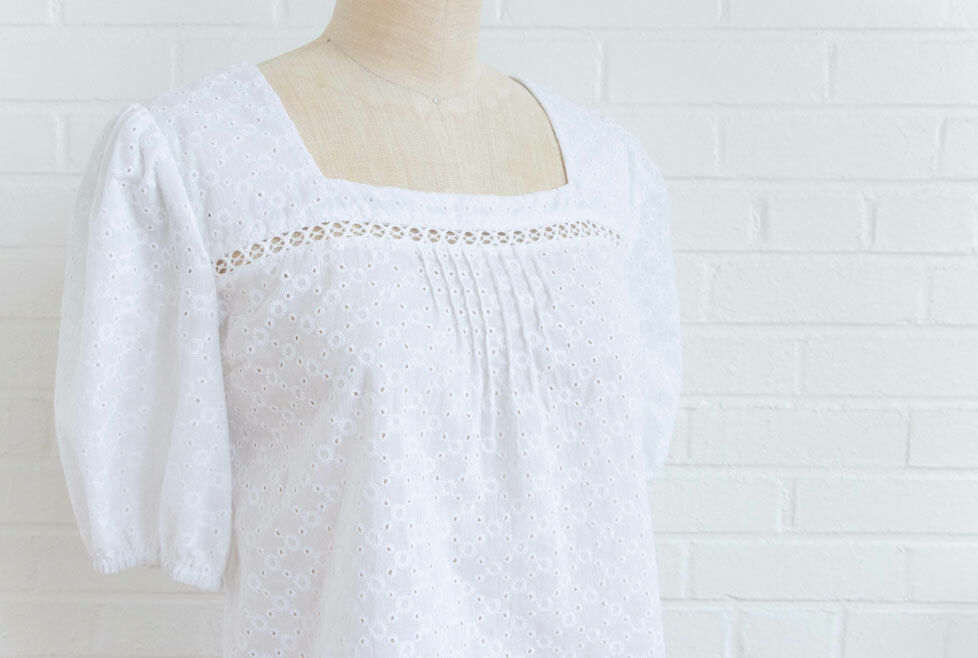
Have you ever admired those delicate, raised lines on vintage blouses or heirloom garments? Those are pintucks, and they're one of my favorite ways to add subtle sophistication to handmade clothing. While they might look intimidating, I'm going to show you exactly how to create them - and trust me, they're more approachable than you might think.
Like many of you, I love finding ways to elevate simple garments with special details. Pintucks are perfect for this because they add such beautiful texture without overwhelming your design. They're especially lovely on patterns like our Bloom blouse, where they create visual interest while maintaining elegance.
What Makes a Pintuck Special?
Before we dive in, let's understand what makes pintucks unique. Unlike regular tucks that might be 1/4" to 1" wide, pintucks are tiny - typically 1/8" or less in width. While regular tucks often shape garments, pintucks are primarily decorative, though they can provide subtle shaping too.
Essential Tools for Success
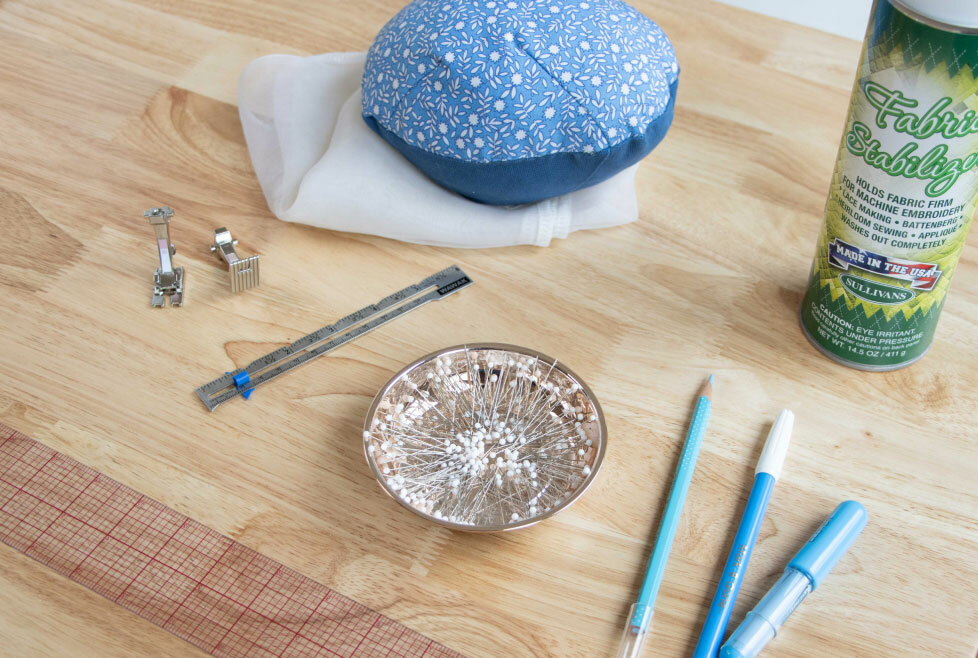
Let's start with the basics. You'll need:
- Water-soluble markers or chalk for marking
- Fine pins
- A clear ruler or seam gauge
- Optional but helpful: tailor's ham, press cloth, and spray starch
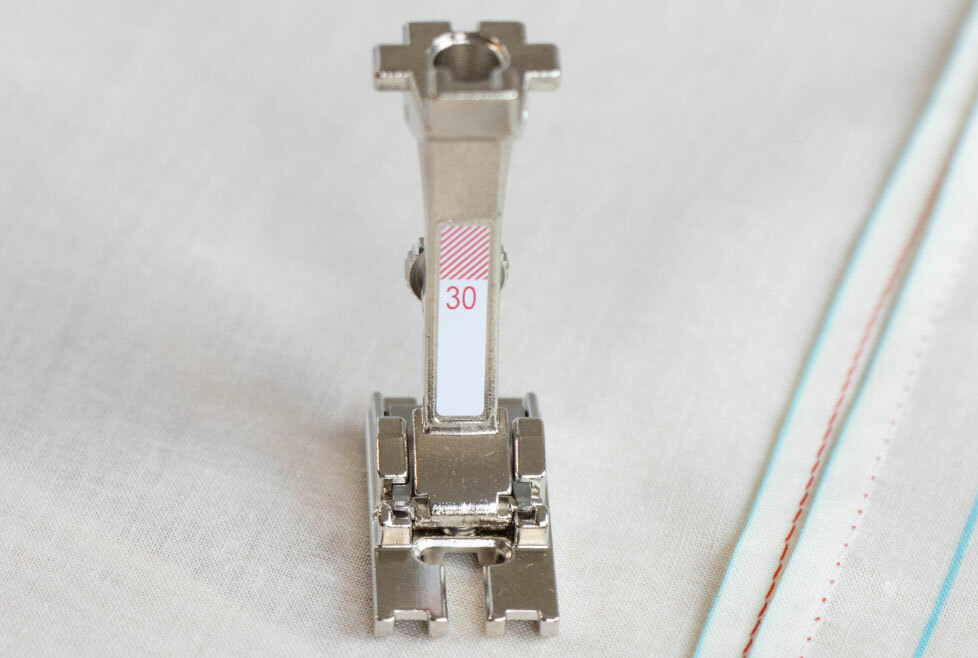
For those ready to take their pintucks to the next level, I recommend investing in a pintuck foot. Think of it as your secret weapon for achieving perfectly spaced, professional-looking results.
Two Ways to Sew Pintucks
Method 1: Basic Pintucks (No Special Foot Required)
1. Mark parallel lines on your fabric, spacing them at least twice the finished tuck width apart
2. Fold wrong sides together along marked lines
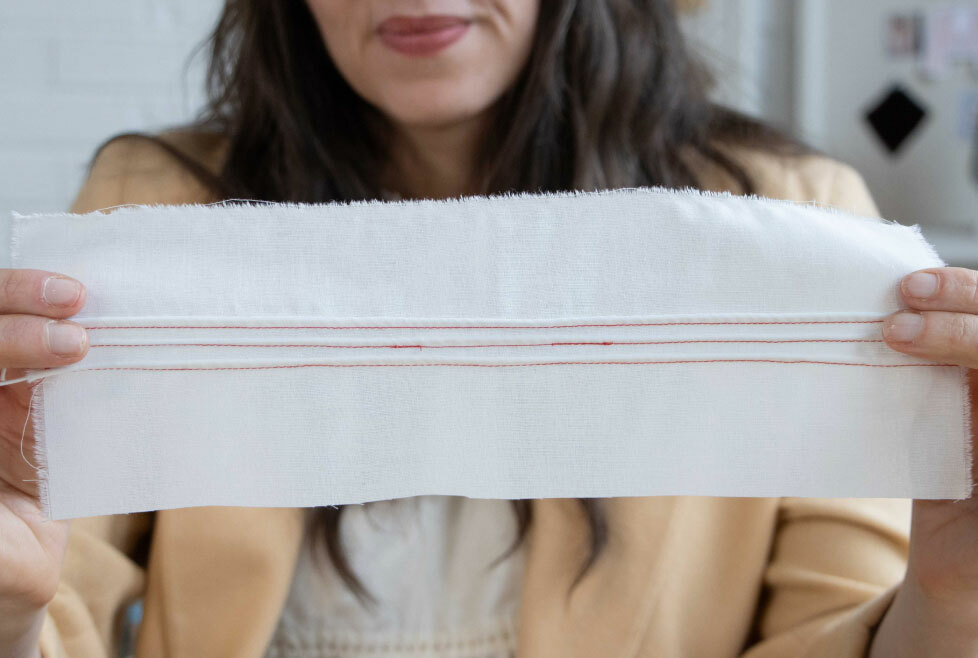
3. Stitch 1/16" to 1/8" from the fold
4. Press tucks to one side
Method 2: Using a Pintuck Foot
This method creates incredibly precise, evenly spaced tucks. Here's how:
1. Set up your machine with a twin needle
2. Test your tension on scrap fabric
3. Mark your first line
4. Use the foot's grooves to guide subsequent tucks
Where to Use Pintucks
The possibilities are endless! Try them on:
- Blouse fronts and yokes
- Dress bodices
- Sleeve details
- Pant legs for a tailored look
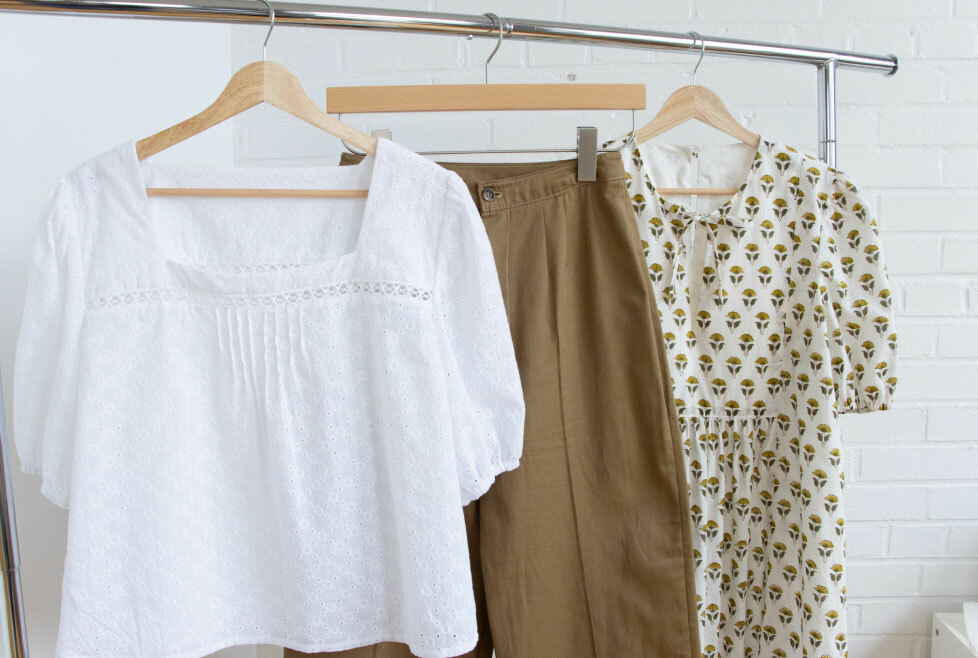
If you're ready to try pintucks, I recommend starting with our Bloom blouse - it has pintucks built right into the design. Or try adding them to the Baker dress instead of gathers for a completely different look.
Creative Variations
Ready to experiment? Here are some of my favorite ways to play with pintucks:
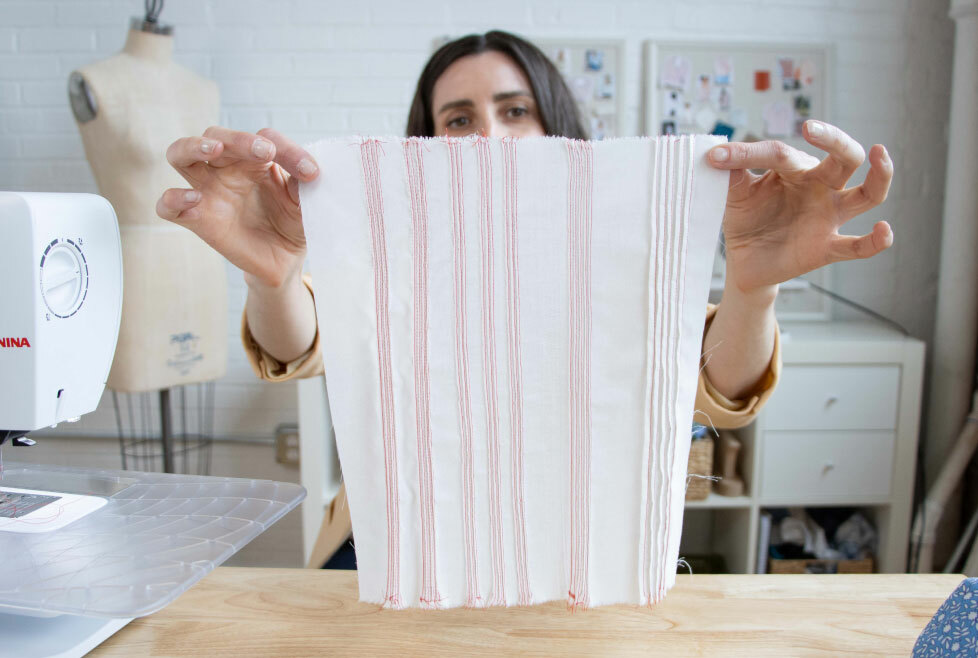
- Corded pintucks for extra dimension
- Colored thread for subtle contrast
- Curved designs
- Intersecting patterns
- Graduated spacing
Troubleshooting Tips
Having trouble? Here are solutions to common issues:
- Uneven tucks: Slow down and let the feed dogs do the work
- Skipped stitches: Rethread both needles
- Flat tucks: Increase upper thread tension
- Marking difficulties: Try different marking tools
Remember, like any sewing technique, pintucks take practice. Don't be afraid to experiment on scrap fabric first.
Have you tried adding pintucks to your garments? I'd love to see how you incorporate this beautiful detail into your sewing projects! Share your creations with our community.
 Related Articles
 Best Articles